Buffet and hutch reno project
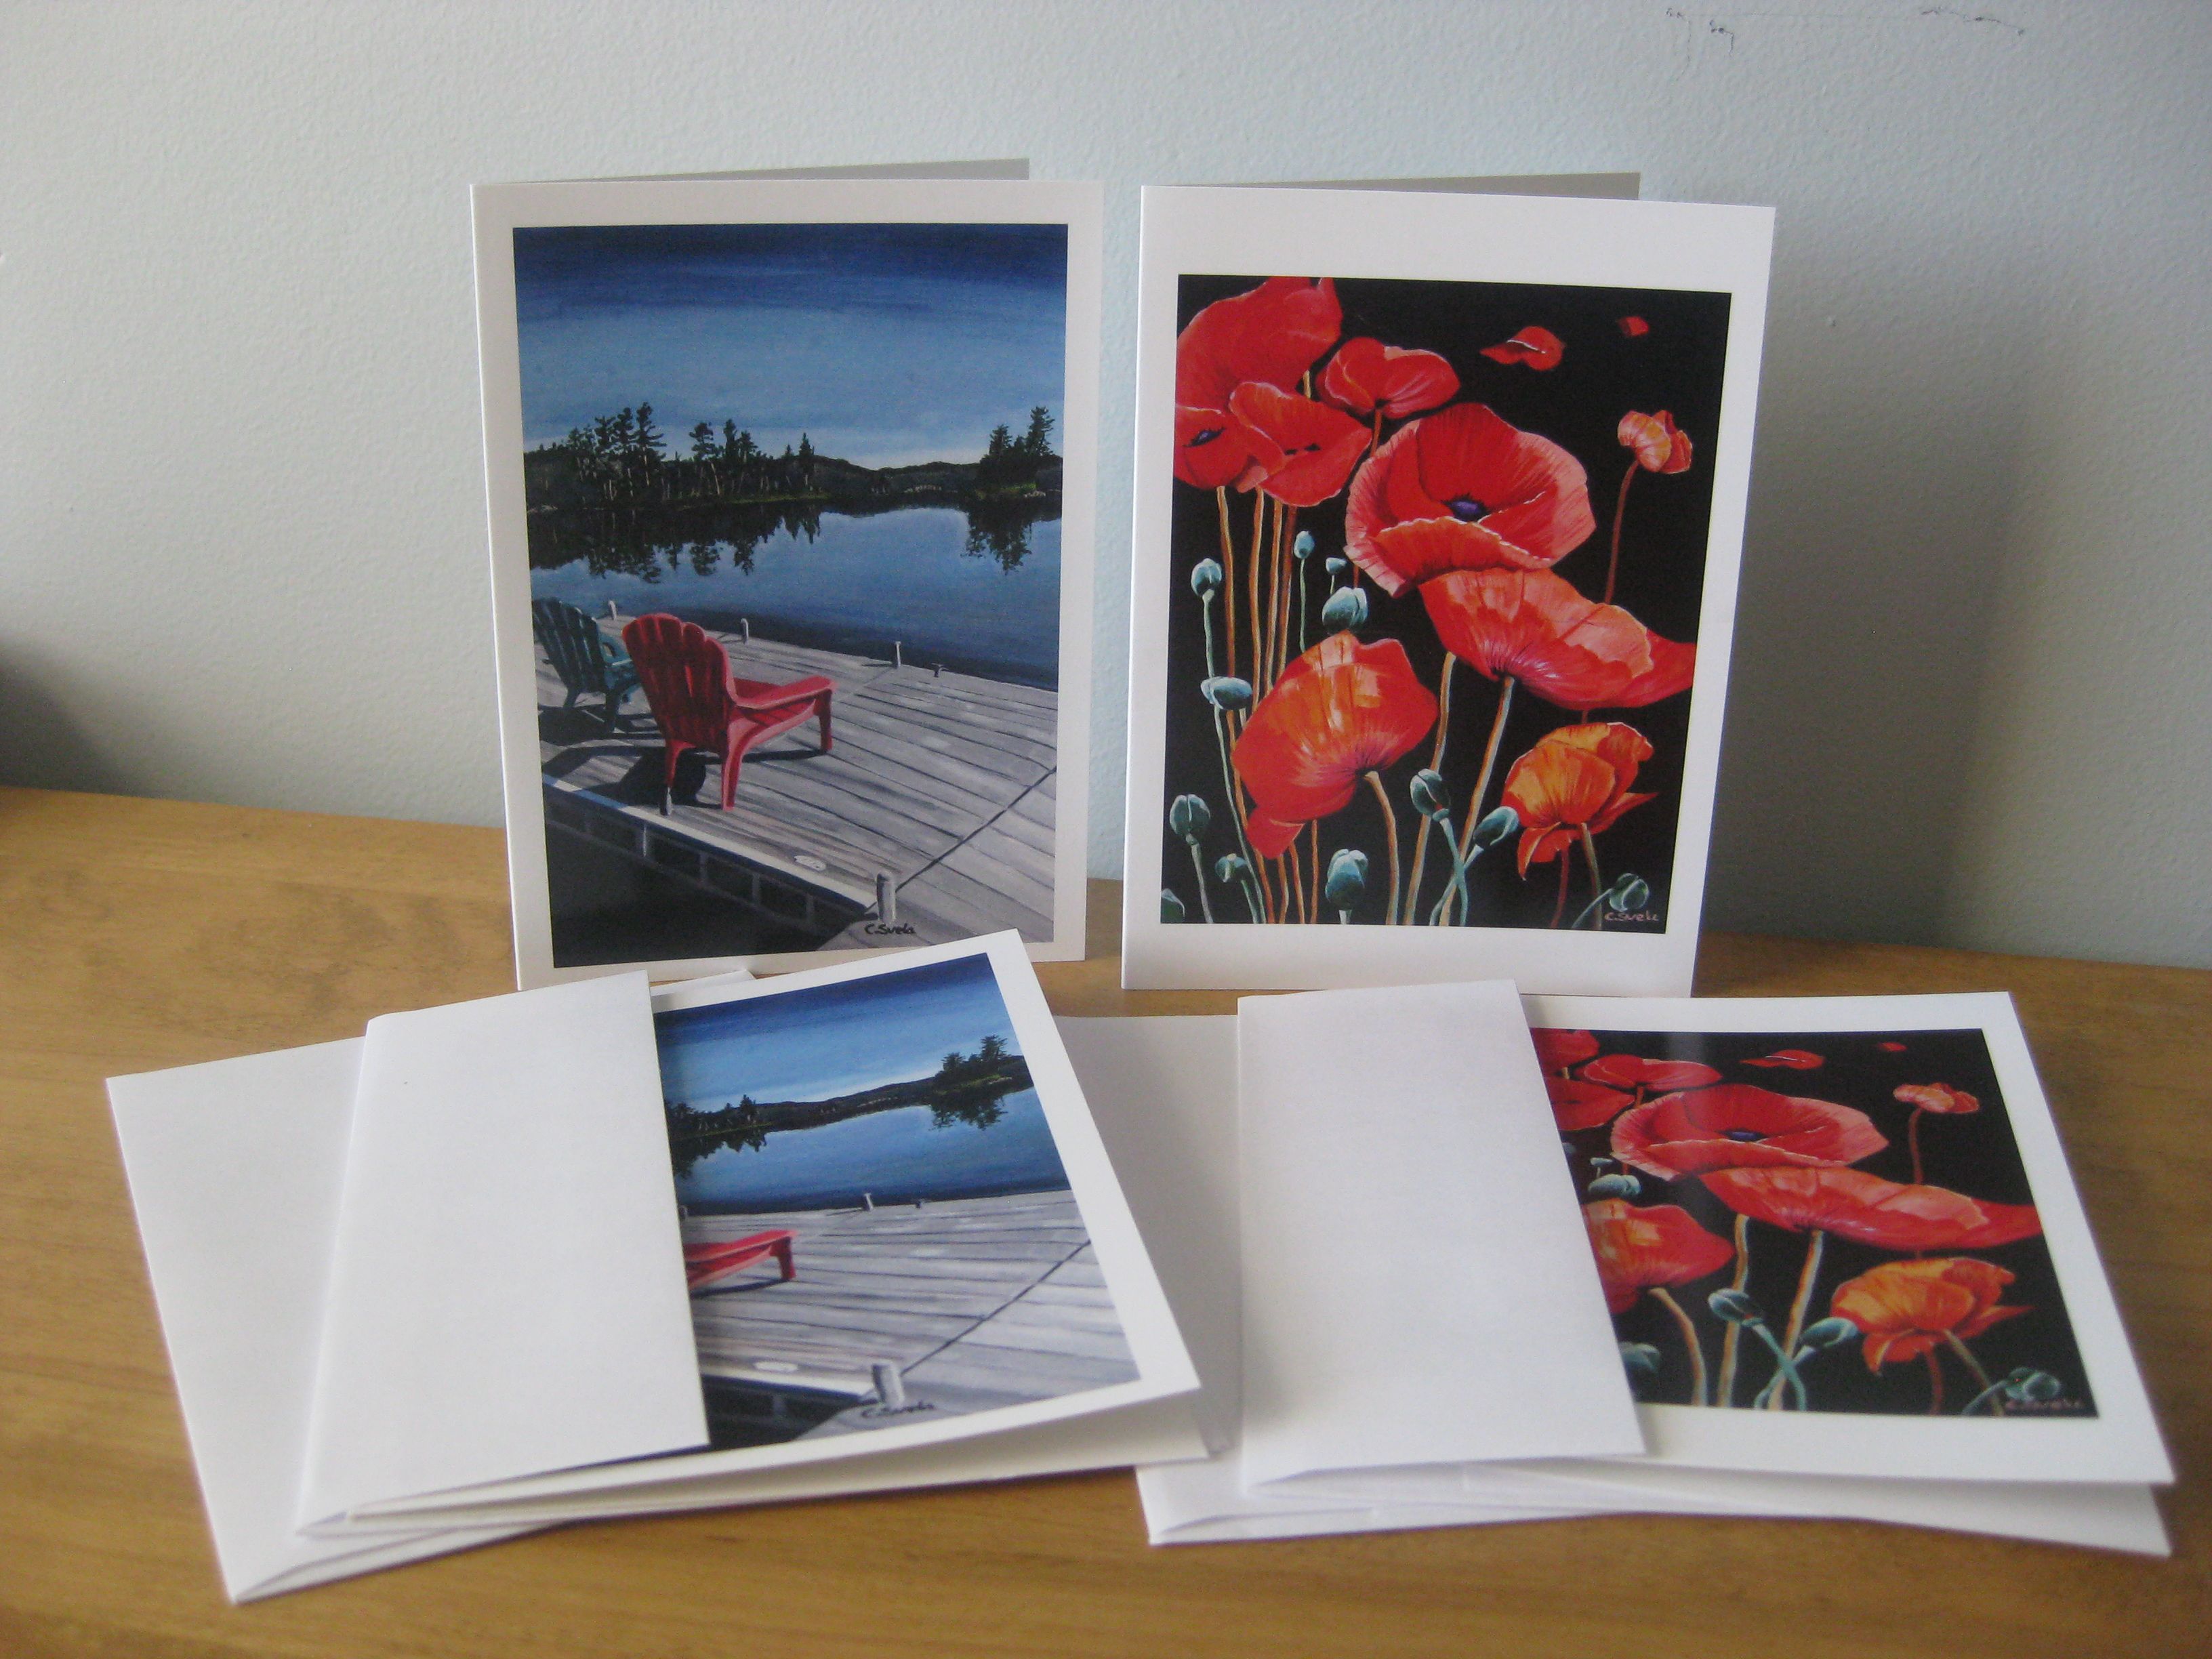
When I’m not painting or drawing, I’m taking on other painting and decorating projects around the house.
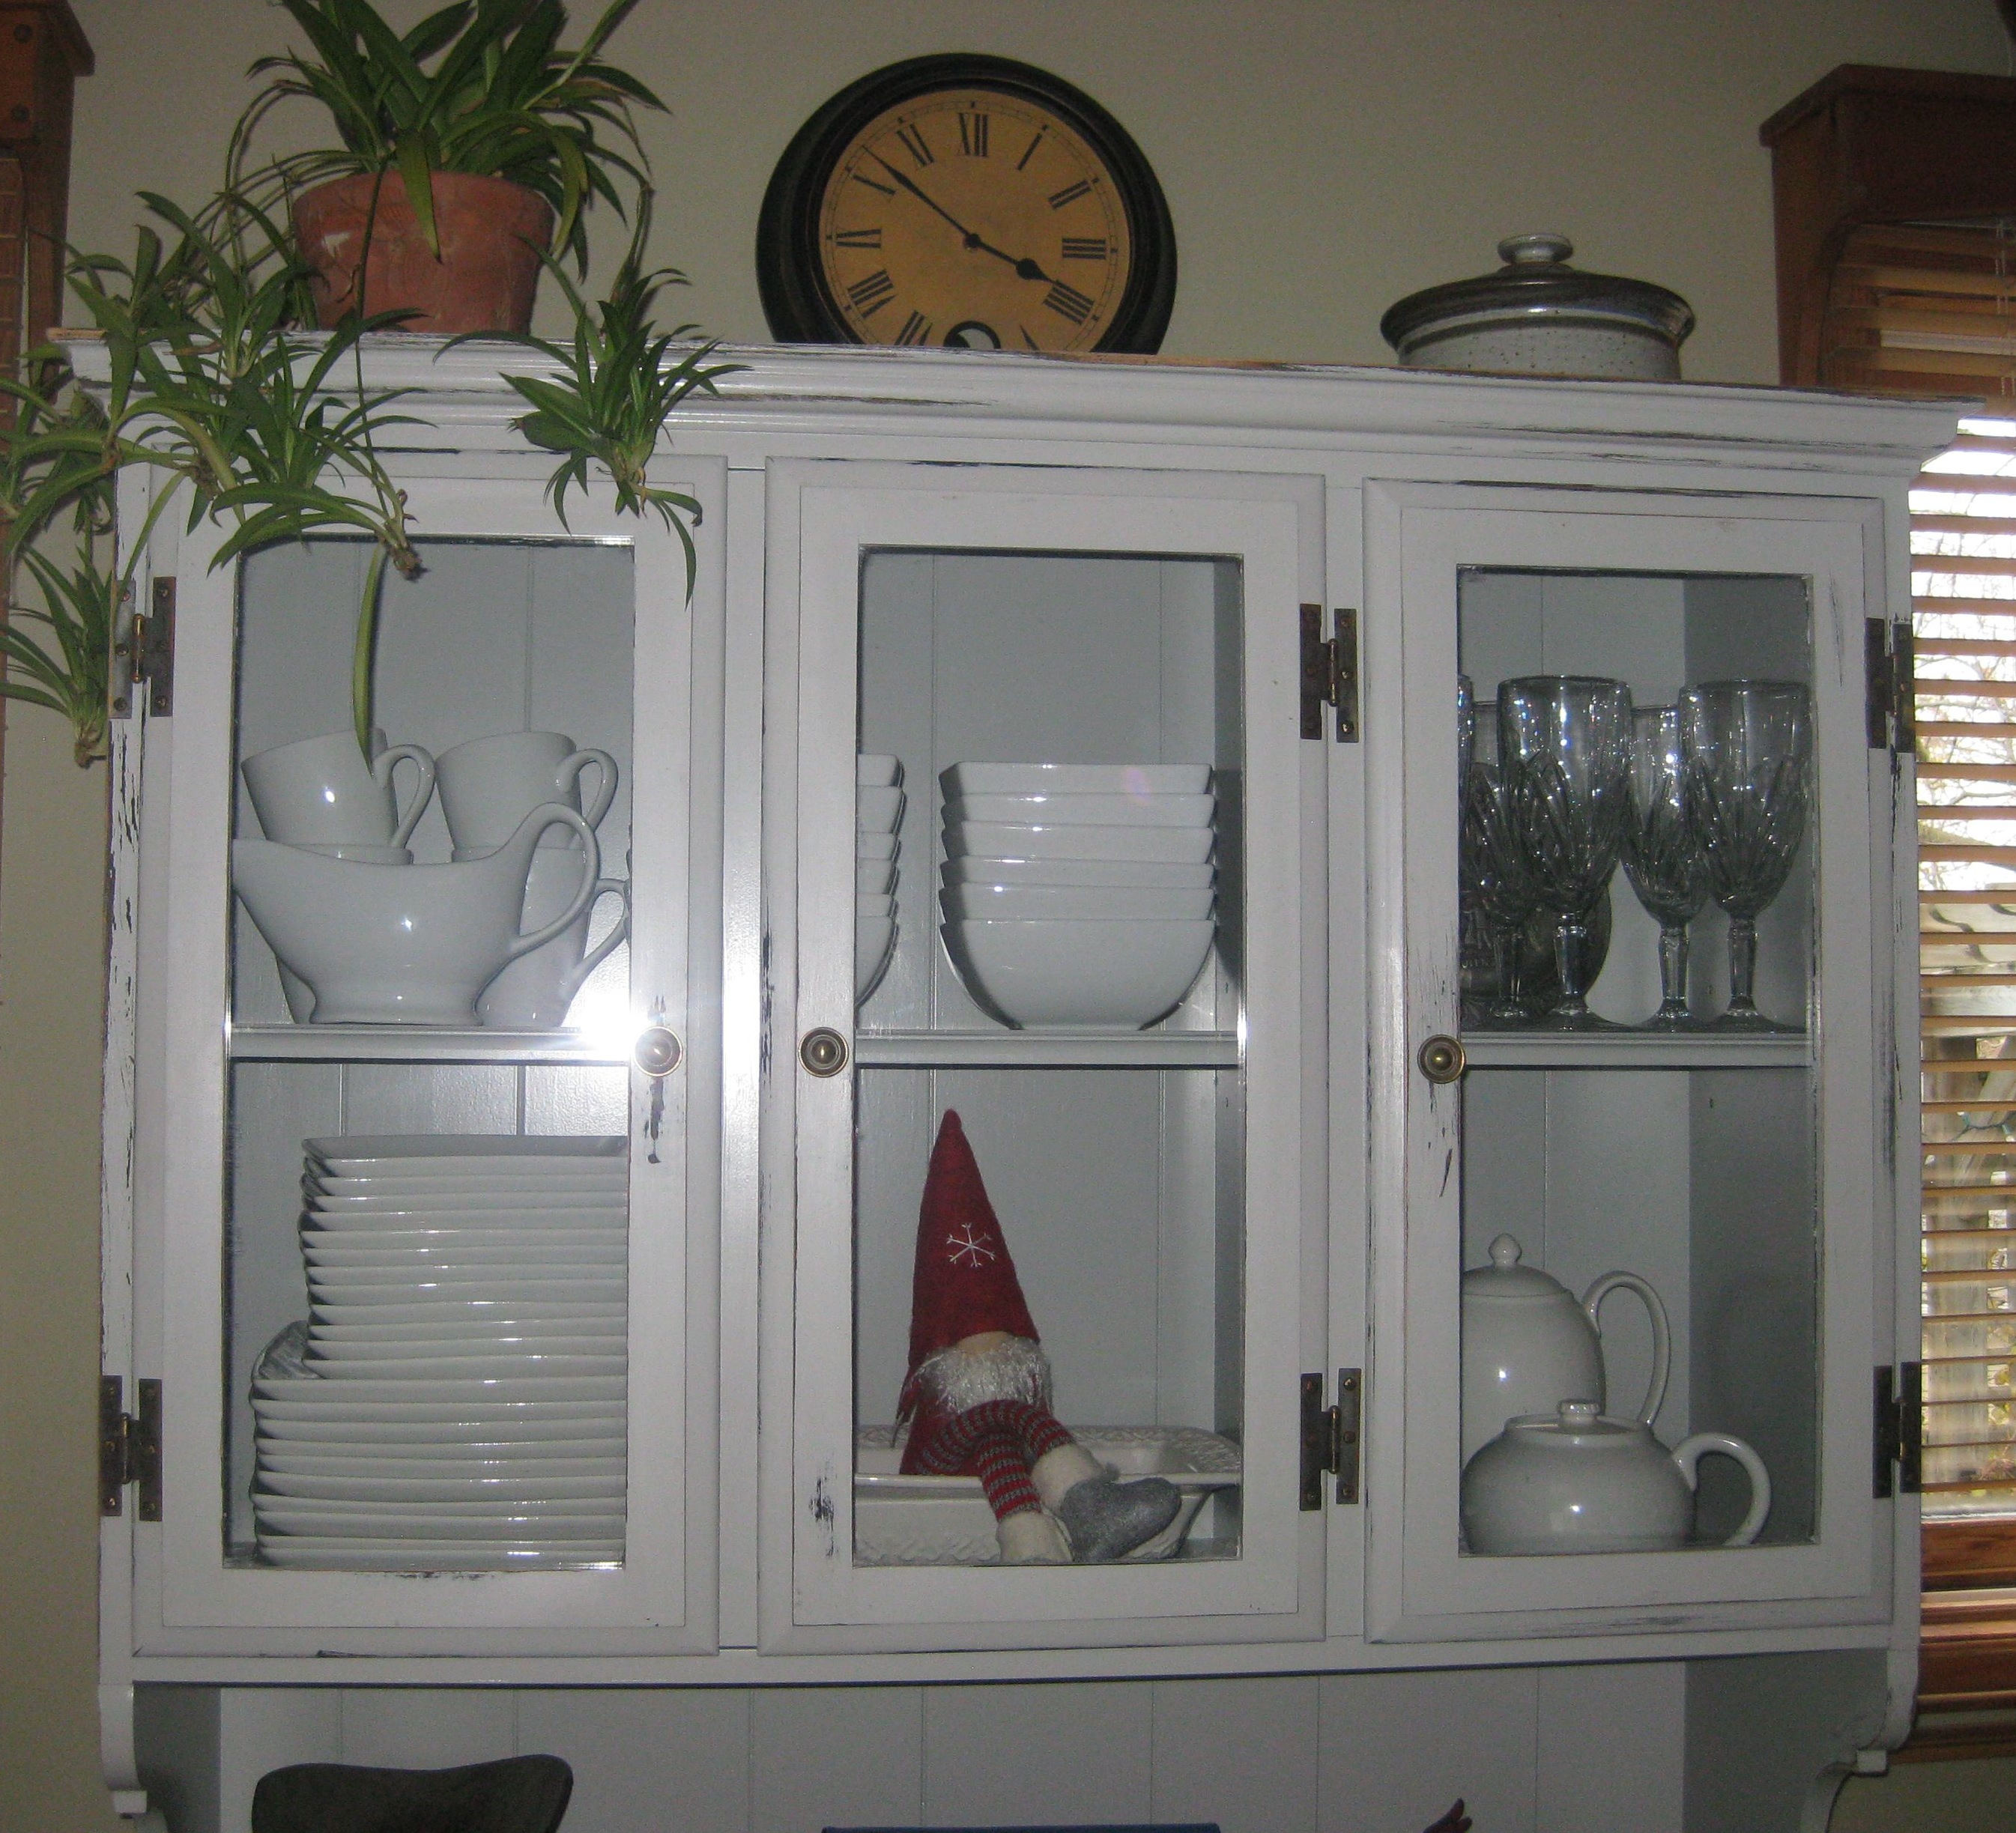
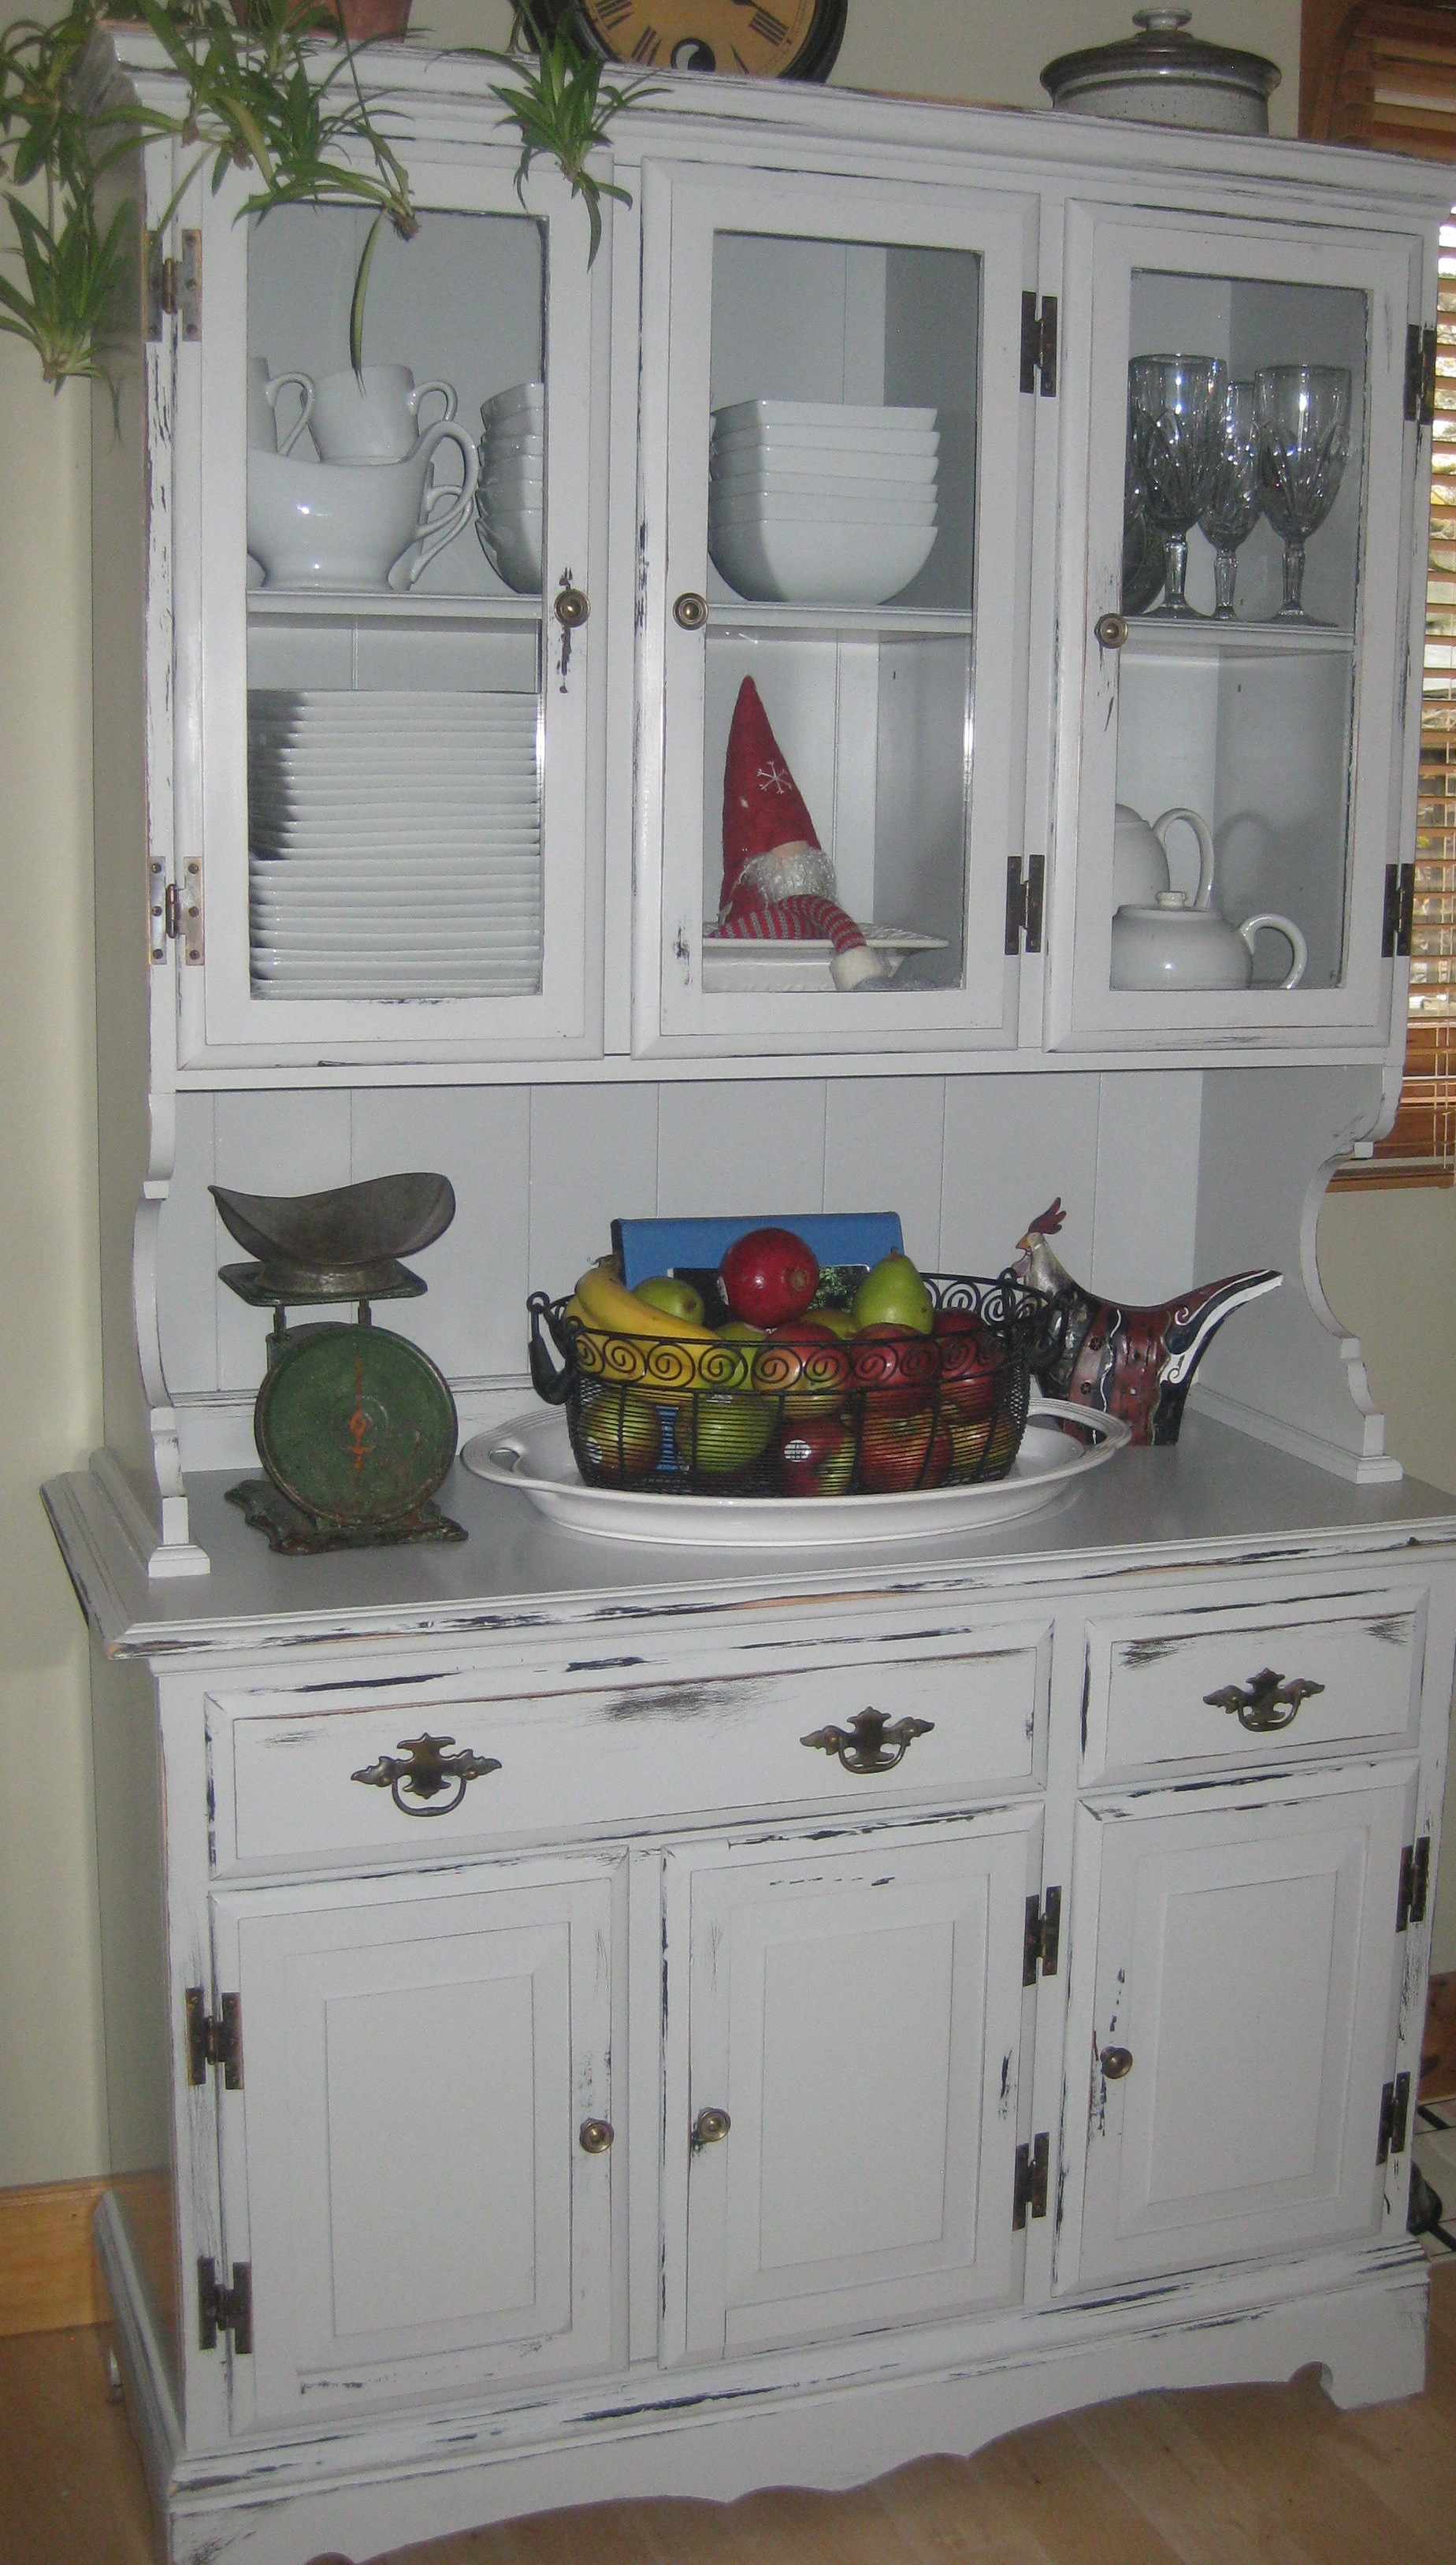
I’m so pleased with how my buffet and hutch reno project worked out. The dark brown walnut stained furniture just didn’t fit in with my new kitchen so the only thing to do was to paint it so that it would fit in. So a light sanding and 2 coats of Benjamin Moore’s Advance® paint, a little distressing here and there and voila….a new piece of furniture!
I did this project over 3 days. It was so worth it! When we moved from a larger home, I sold a lot of furniture that I knew I wouldn’t have room for in our new smaller home. I wasn’t able to sell my dining room buffet and hutch, so it came with us. It spent the winter in our shed and most of the next spring too. I wanted to move it in the house. I needed the storage and there actually was a spot for it in the new kitchen. The only problem was that I had pine kitchen cabinets and a harvest pine kitchen table.
The dark brown walnut stain just did not fit in.
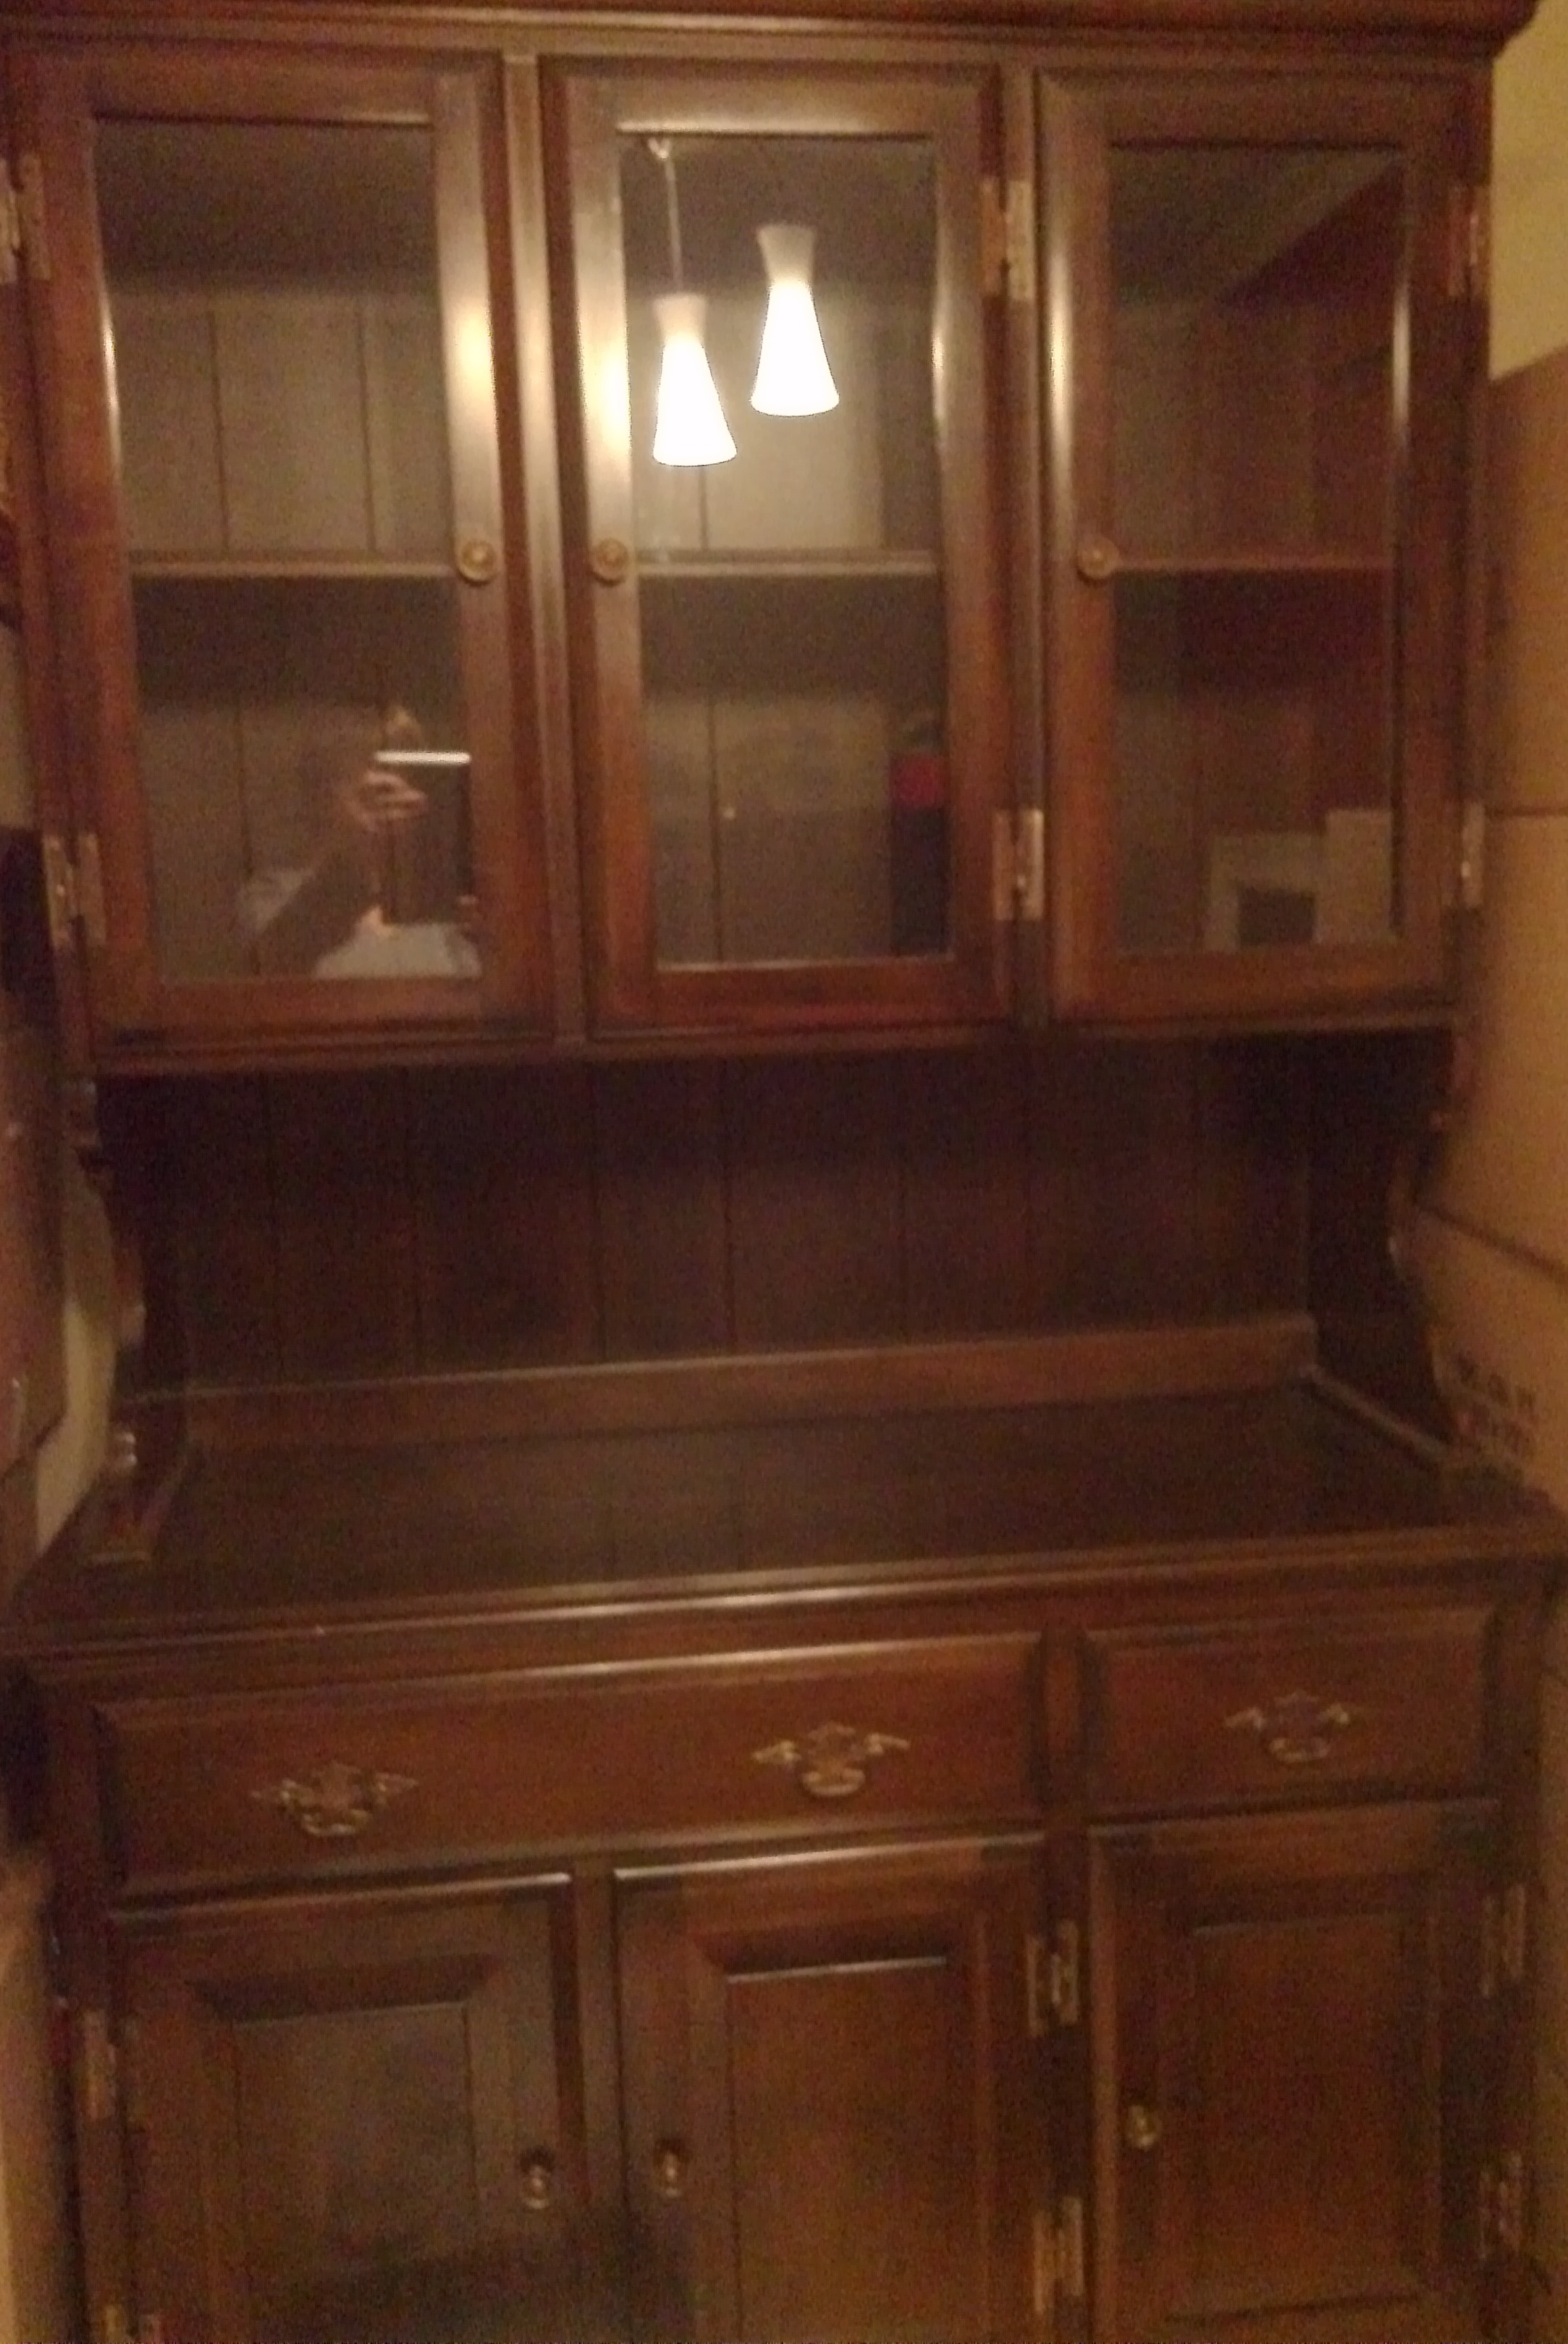
The only thing to do was to paint it. I thought I would sand it, give it a coat of primer and then a coat or two of a nice light gray colour of paint.
Well, one thing I learnt was that grey is one of those colours that is really hard to pin down. After starring at countless swatches of shades of grey, I finally settled on Benjamin Moore’s Coventry Gray. It wasn’t too green, too blue, too brown or too light. It was perfect!
When I went to our local Benjamin Moore paint dealer, I found the perfect paint. Benjamin Moore’s Advance® paint is an oil paint in a waterborne formula that cleans up with soap and water. It is a 100% alkyd formula water-dispersible alkyd developed with proprietary new resins that keep VOCs low even after tinting. It flows and levels like a traditional alkyd with the extended open-time required to achieve high-end finishes.
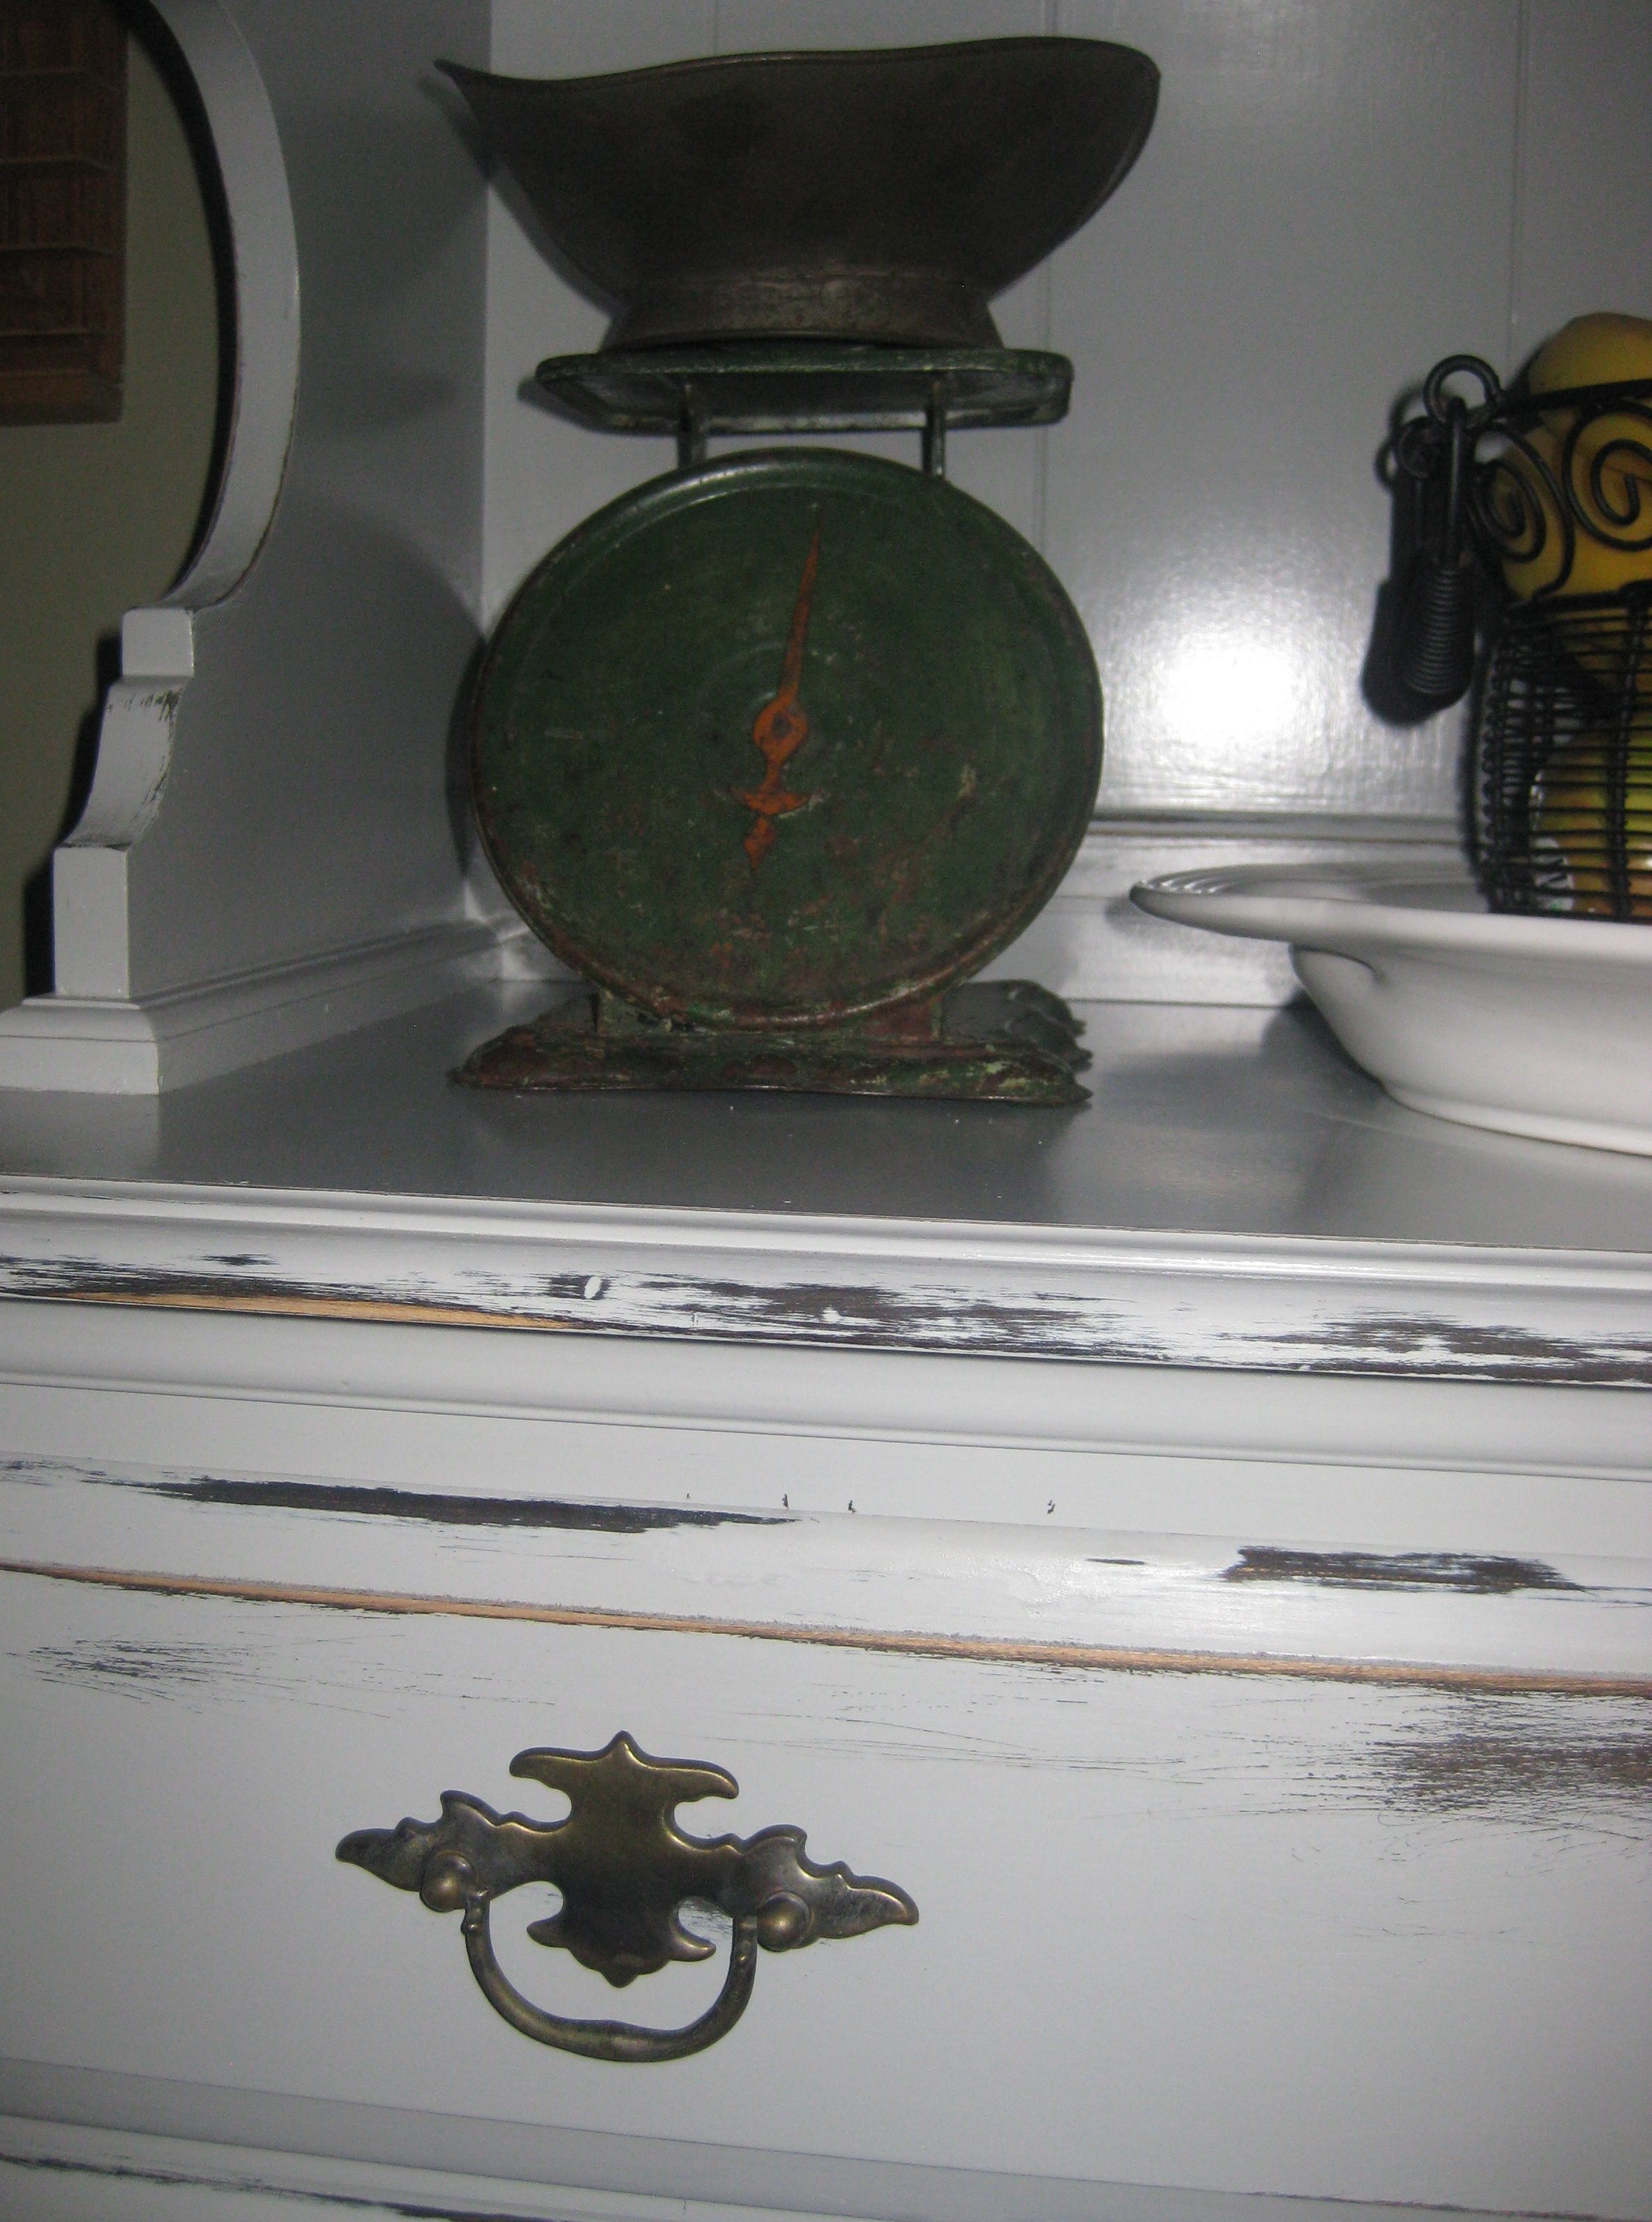
And best of all, no primer was necessary. Some light sanding, and 2 coats of paint was all that was needed. The paint levelled wonderfully and dried to a beautiful finish. It was tempting to leave it as is. But I had seen many projects were furniture was distressed and I was tempted to try it. If I didn’t like it, I could just paint over it, right?
So I gave it a try and I was very happy with the result.